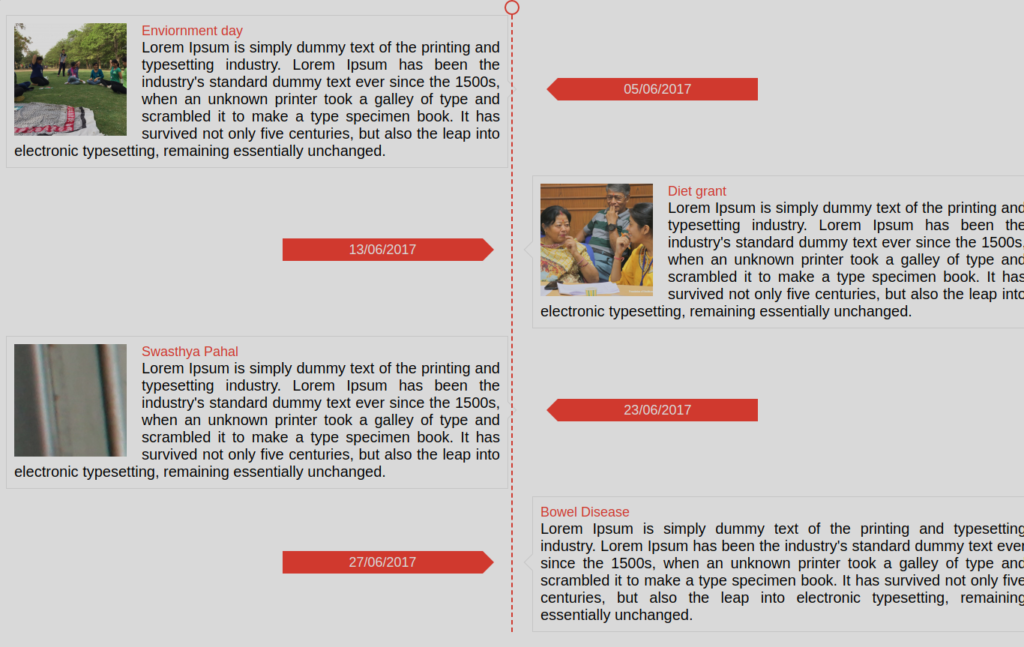
Timeline designs are used for telling stories and explaining the process. Specifically, these are used for giving details of event, agenda, or to highlight important points.
In this lesson, you will learn to create a timeline. Starting with the HTML layout, sections are created to hold the different elements. The container class encapsulates all other elements. Then, separate sections are created for timeline-item, timeline-image, title, date, and description.
CSS Structure
Let us add CSS structure to provide styling to the layout. The timeline-item class can be considered as a single row that includes text on one hand and date on the opposite section. The area is given position relative, so as to place other elements relative to its position. Next, timeline-items: before class is used to create a circular shape design of border color F44336. Further, timeline-items: after creates a dashed line in the middle of the boxes. Using nth-child selector the text items are designed in the adjacent sides and this also reduces the usage of the CSS, as the same CSS can be applied to all the sections of one type (odd or even).
Use the design to display chronological events in a neat and accurate style.


